

Appearance
Zapier
Send form submissions from UpForm to Zapier with a webhook. After Zapier catches a test submission, you can map form fields into other apps such as Brevo, Google Sheets, or Gmail.
Before you begin
- You need a Zapier account.
- In UpForm, enable Save submission data for the form. Workflow sync will not run if submissions are not saved. See General.
- UpForm does not map fields inside the form for Zapier. Field mapping happens in Zapier after a test submission.
- Each form can use its own webhook URL. If you connect multiple forms or Zaps, use a clear Title (for example, the Zap name) so you can tell connections apart.
- Zapier menus and labels can change. If something does not match exactly, search Zapier help for Webhooks by Zapier or Catch Hook.
Connect Zapier in UpForm
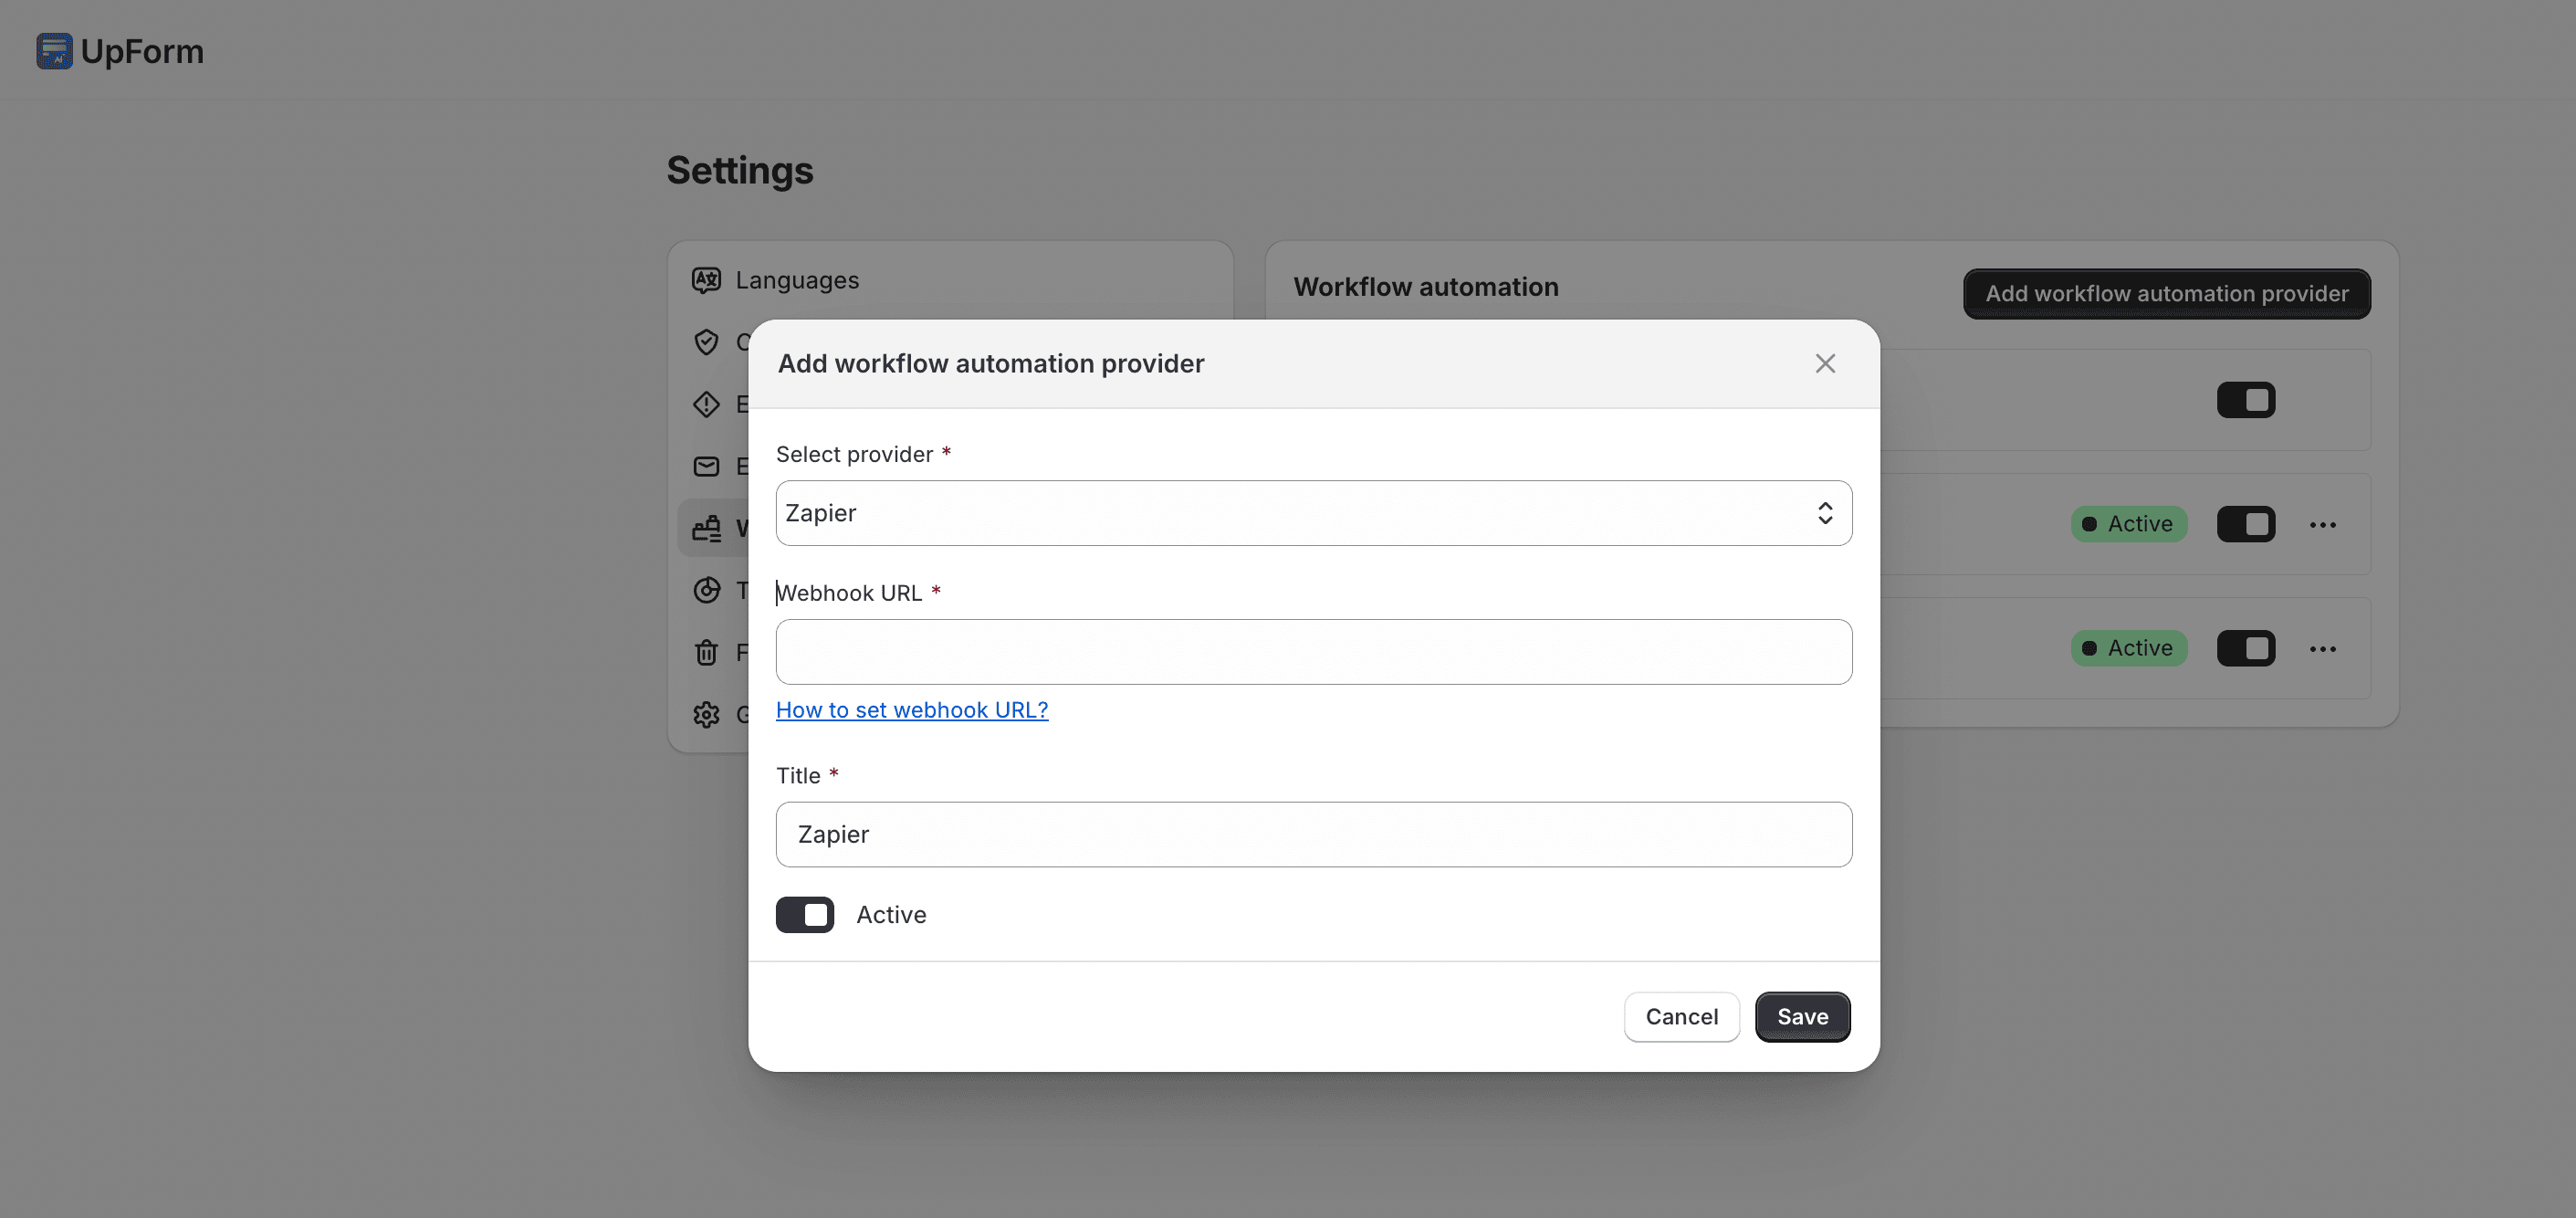
- In UpForm, open Settings → Workflow automation.
- Click Add workflow automation provider.
- Under Select provider, choose Zapier.
- Enter a Title for this connection (for example,
UpForm Zapier). - Leave the modal open (or return after you copy the webhook URL), then continue in Zapier.
Create a Zapier Catch Hook
- Sign in to Zapier.
- Click Create, then choose Zaps.

- In the Zap editor, open the Trigger step.
- Search for and select Webhooks by Zapier.
- Under Event, choose Catch Hook.
For most UpForm setups, Catch Hook is the right trigger. Zapier gives you a unique URL that UpForm can send submissions to with a POST request.
- Click Continue.
- Skip Pick off a Child Key (or the equivalent step) and click Continue.
- Copy Your webhook URL.
- Return to UpForm, paste the URL into Webhook URL, enable Active if shown, then click Save.
Enable Zapier on a form
You can use any form. The screenshots below use an example feedback form template.
- Open the form in the form builder (or create one from a template).
- Open the General tab → Workflow automation.
- Enable Sync submission data with Zapier.
- Select the Provider you connected earlier.
- Save the form and publish it to your storefront.
You can also click Add for Zapier from this section if you have not connected a provider yet.
Send a test submission
Zapier needs a real submission so it can detect your form fields and make them available when you configure actions.
- On the live storefront, submit the form with complete test data.
- Return to your Zap and open the trigger Test step.
- Click Test trigger.
- Select the request that contains your recent submission, then click Continue with selected record.
Zapier splits the webhook payload into fields you can use in later steps (for example, email, name, or message).
If Zapier does not receive data, confirm the webhook URL is correct, Active is enabled for the provider, Save submission data is on, and the form is published with Zapier sync enabled.
Optional: Add contacts to Brevo
After the Catch Hook is working, add a Brevo action to create or update contacts from each submission.
- Click + under the trigger, search for Brevo, and select it.
- Under Action event, choose Contact Create or Update.
- Click Sign in and connect Brevo with a v3 API Key from Brevo SMTP & API.
- After the account connects, click Continue.
- Map fields from the Catch Hook into Brevo:
- Email — select the email field from UpForm
- Update if Contact Exists — set to True if you want repeat submissions to update the same contact
- Lists — choose the Brevo list for these contacts
- Attributes — optionally map first name, last name, or other fields
- Click Continue, then Test step.
- Confirm the test contact appears in Brevo.
- Click Publish.
Optional: Log submissions to Google Sheets
Add a Google Sheets action to create a new spreadsheet row for each submission.
- Click + under the trigger, search for Google Sheets, and select it.
- Under Action event, choose Create Spreadsheet Row.
- Click Sign in, connect your Google account, then click Continue.
- Choose the Drive, Spreadsheet, and Worksheet.
- Map Catch Hook fields into the matching columns, then click Continue.
- Click Test step and confirm a new row appears in the sheet.
- Click Publish.
Optional: Send a Gmail confirmation
Add a Gmail action to send an email when a form is submitted.
- Click + under the trigger, search for Gmail, and select it.
- Under Action event, choose Send Email.
- Click Sign in, connect your Google account, then click Continue.
- Configure the message:
- To — select the email field from the Catch Hook
- From — choose your connected Gmail account
- Subject — enter a subject line (you can insert Catch Hook fields)
- Body Type — choose HTML or Plain
- Body — write the message and insert fields with + as needed
- From Name — enter the name customers should see
- Optionally choose a Gmail label for where the sent message appears
Optional settings such as Reply To or Attachments can be added if your Zapier plan and Gmail connection support them.
- Click Continue, then Test step, and check the recipient inbox.
- Click Publish.
If this does not work as expected, Contact for help.