

Appearance
Shopify Flow
Use Shopify Flow with UpForm to run automations when a customer submits a form. UpForm sends a New UpForm Submission trigger, and Flow can update customer profiles, tags, metafields, or connect to other apps.
Before you begin
- Install the free Shopify Flow app on your store.
- In UpForm, enable Save submission data for the form. Workflow sync will not run if submissions are not saved. See General.
- Shopify Flow uses your form field Name values (for example,
email-1anddate-1) in workflow conditions and Liquid. Set those names carefully before you build flows. - Shopify Admin, Flow, and email app menus can change. If a label does not match exactly, use search in Shopify or your email app’s help.
Enable Shopify Flow in UpForm
- Open the UpForm app in Shopify admin.
- Go to Settings → Workflow automation.
- Find Shopify Flow and turn it Active.
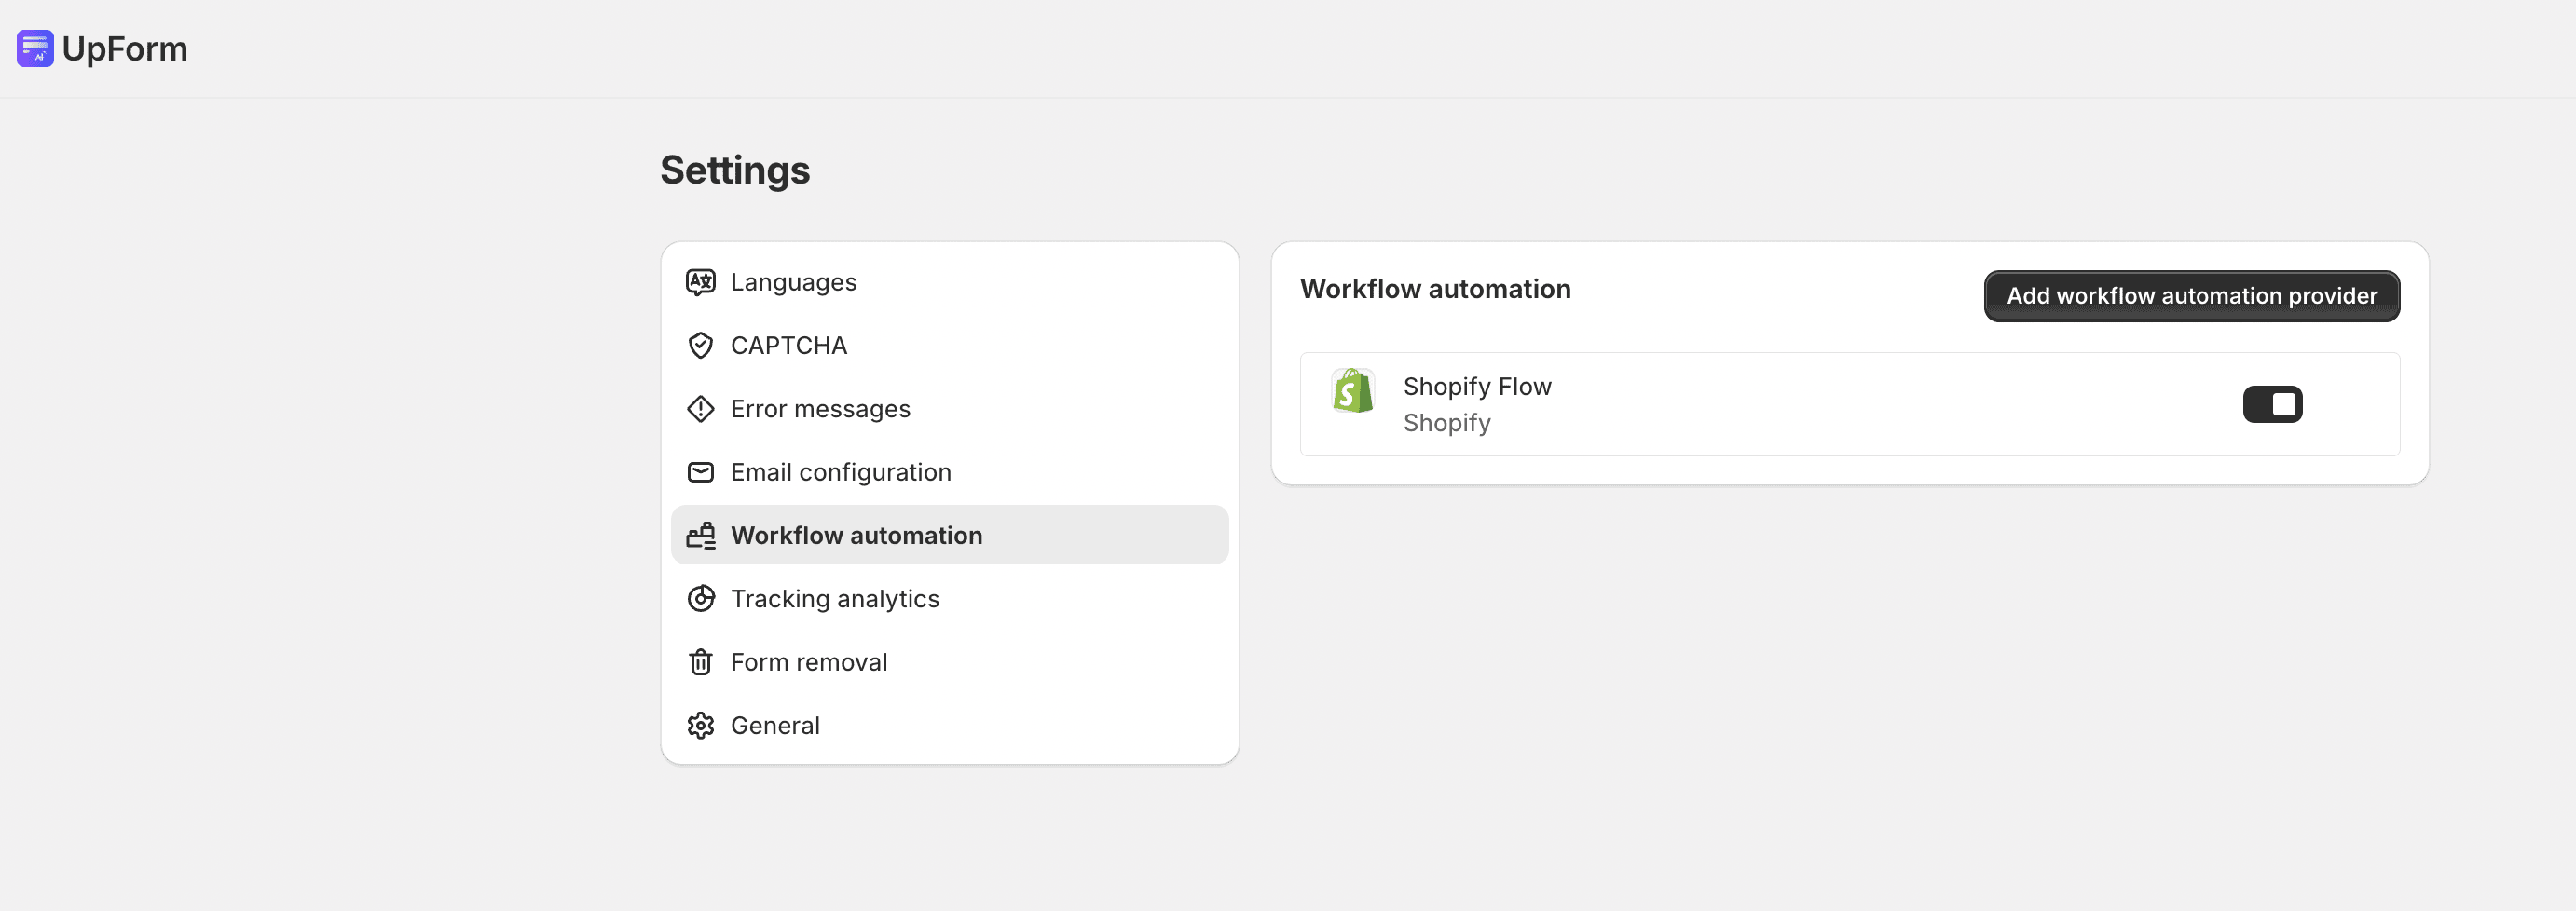
How UpForm works with Shopify Flow
When a customer submits a form, UpForm sends a New UpForm Submission trigger to Shopify Flow, including the submitted field values.
Flow reads those values by field Name (for example, email-1, date-1). Common next steps include:
- Customer tags — group customers by interest or list
- Customer metafields — store structured values such as a birth date
Workflows usually run in one of two ways:
- Event-based — runs when the form is submitted (for example, tag a customer right away)
- Time-based (scheduled) — runs on a schedule (for example, check daily for customers whose birthday is today)
Example recipes
After Shopify Flow is active, use these step-by-step guides:
- Birthday email and coupon — collect a birth date, sync it to a customer metafield, create a birthday discount, and schedule a daily email check
- Weekly newsletter — tag newsletter subscribers from a signup form and schedule a weekly email